Renovation: how to choose microcement or tiles by cost and calendar
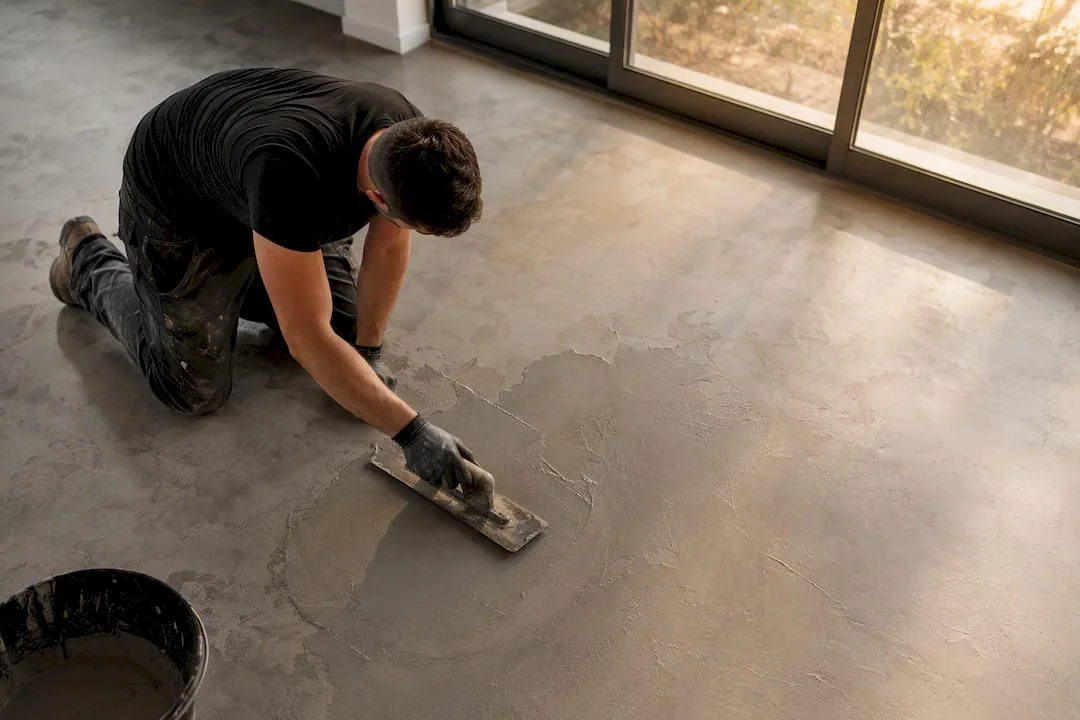
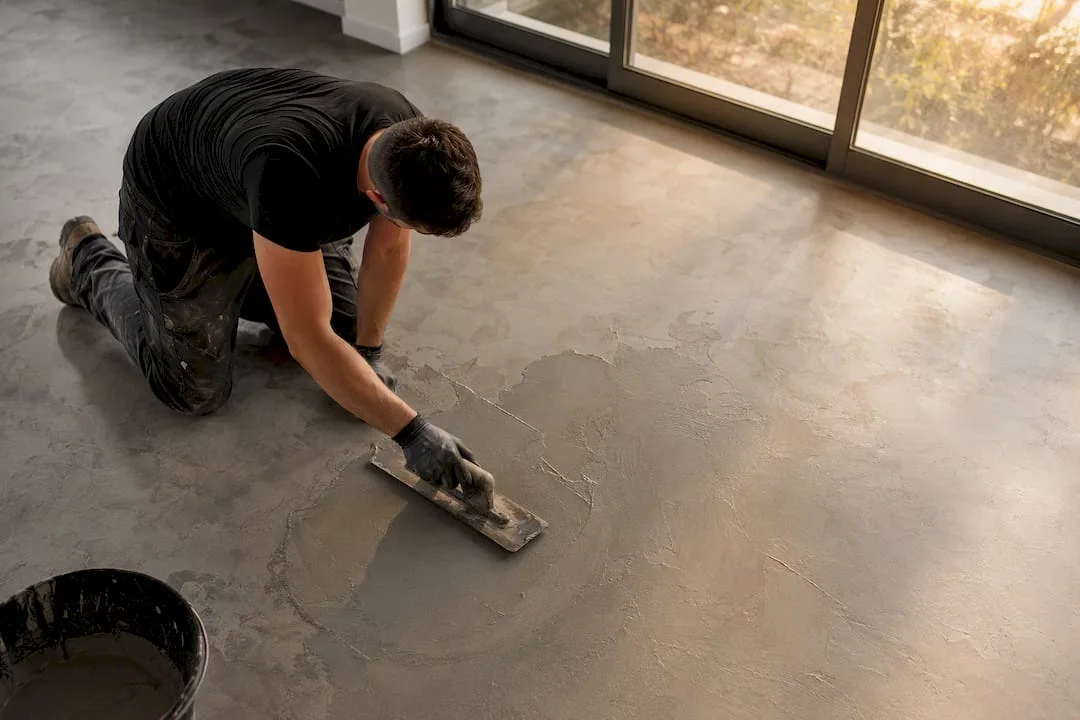
Microcement wins in renovations that avoid demolition and require a continuous, seamless appearance. Sandstone remains the right choice where mechanical strength and the possibility of replacing a broken tile matter more than unitary aesthetics. The initial cost difference is small, but the state of the existing mat often decides the final choice.
In summary:
- Applying the microcement over the existing support saves time and money, avoiding demolition and reducing the duration of the work, especially in renovation spaces.
- Total costs vary significantly depending on the condition of the support, the need for preparation and reconditioning of the putty, not just the price per square meter.
- In rooms with heavy traffic or high humidity, rectified porcelain tiles offer more strength and the possibility of local replacement in case of damage.
- The microcement, with its matte, satin or glossy finishes, is applied quickly and creates continuous visual effects, but requires periodic refreshment of the sealing layer.
- The final choice must take into account the condition of the support, the manner of use and the budget, and the professional technical assessment minimizes the risk of cracks or other defects.
Microcement vs Sandstone Comparison: Advantages and Limitations on Essential Criteria
The decision completely changes according to three criteria: the total cost of the work, the desired layout and how much time you can allocate to the site. Microcement applied directly over an existing support eliminates the demolition stage, which reduces both the cost and duration of the project. Sandstone, on the other hand, offers a wider range of designs, textures and sizes, plus the practical advantage of replacing a single damaged tile without affecting the rest of the surface.
Here are the clearest differences:
- original costclose between the two materials, but the total cost in renovation varies greatly depending on the condition of the mat.
- Aestheticsthe microcement provides a continuous, seamless surface; the tile comes with a wide variety of patterns and textures, but the joints remain visible even at the rectified formats.
- Worktimethe microcement applied over the existing support shortens the program; tiles mounted over an old floor usually require complete demolition.
- Discomfort on site:demolition of old tiles generates dust and noise over several days; directly applied microcement reduces this period.
How much does it cost and how long does it last: microcement or tiles
Figures matter more than any aesthetic argument, so it's worth starting from them. The total cost for microcement (materials and workmanship) is frequently between 240 and 410 Ron/sqm, while rectified porcelain stoneware usually reaches 200 to 320 Ron/sqm. The real difference, however, is in the hidden costs, not in the price per square meter.
- Demolition and disposal of rubble— If old tiles need to be removed, you add demolition, transportation, and sometimes screed restoration costs.
- Support preparation:— grinding, primer and, at joints, fiber mesh: mandatory steps before applying microcement.
- Labor & Drying— Microcement application usually takes a few working days, but the total period, including layer drying and final varnishing, can span one to two weeks.
In renovations, microcementsaves time and money by avoiding demolition, while in new constructions the tiles may be more advantageous to standard materials, without the preparation requirements specific to the microcement. For turnkey works, some professional market offers start from the equivalent of ~ €70/sqm, i.e. about 355 Ron/sqm, varying in area and complexity. It is also worth noting that,on small areas, the fixed cost of application can significantly increase the price per square meterto microcement.
What each material looks like in different rooms
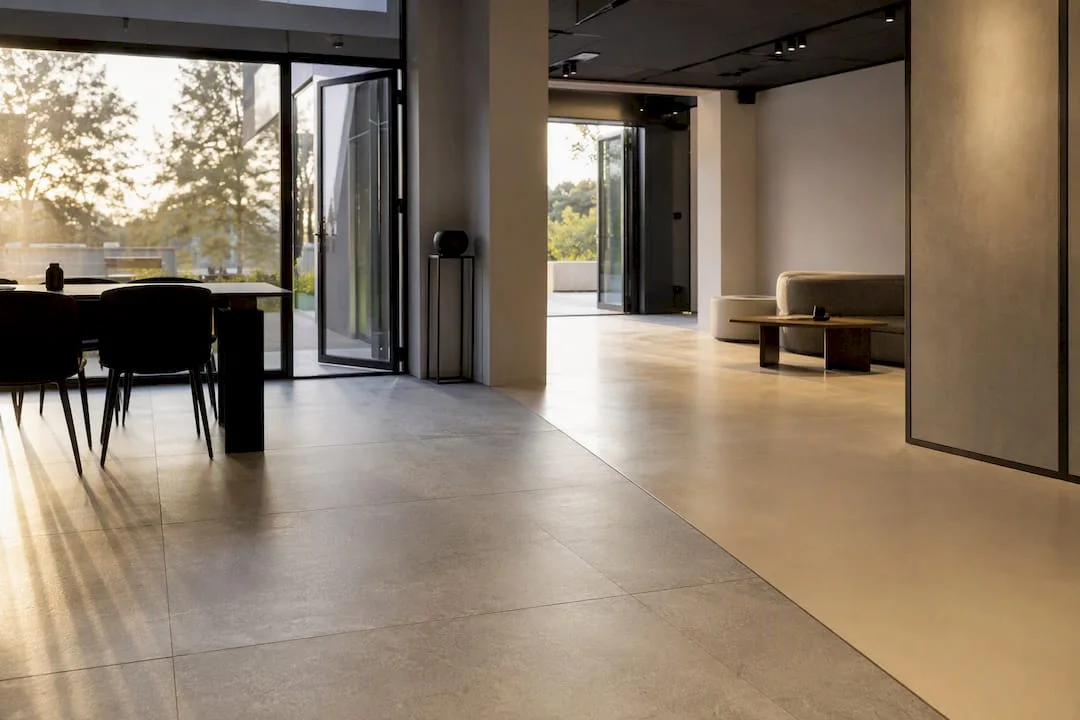
Visual continuity is the central argument of microcement, but it does not mean that the tiles are aesthetically lagging behind. The rectified porcelain sandstone, with a minimum joint of 1 millimeter, visually reproduces the continuous surface effect and adds above-average mechanical strength, plus the advantage of local replacement in case of damage.
The choice by room depends on the function, not just the taste:
- Bath:microcement creates a “single room” effect, with no crevices where dirt accumulates; ground tile is a solid alternative where waterproofing must be additionally guaranteed.
- Open-plan kitchen:the microcement visually links the cooking area with the living room; the tiles remain the safe option for high-traffic areas around the island.
- Living room and passage areas:both materials work, but the microcement visually gains where you want a surface without dividing lines.
- Stairways:non-slip tile is the safer technical recommendation; microcement requires additional treatments for adhesion.
The finishes matter as much as the material: the microcement is applied in matte, satin or glossy variants, each with a different impact on the perception of space. For a coherent interior design concept, the choice of floor finish must be correlated with the rest of the surfaces, not treated in isolation.
Durability and maintenance: what practical guarantees you get
The impact and scratch resistance differs structurally between the two materials. Porcelain tiles are hard by nature and withstand punctual blows well, but grouts between tiles can degrade over time and require periodic reconditioning. The microcement depends almost completely on the layer of protective varnish applied on top: as long as the varnish is intact, the surface resists well to moderate traffic, butif this layer is compromised, the stains become difficult to correcte
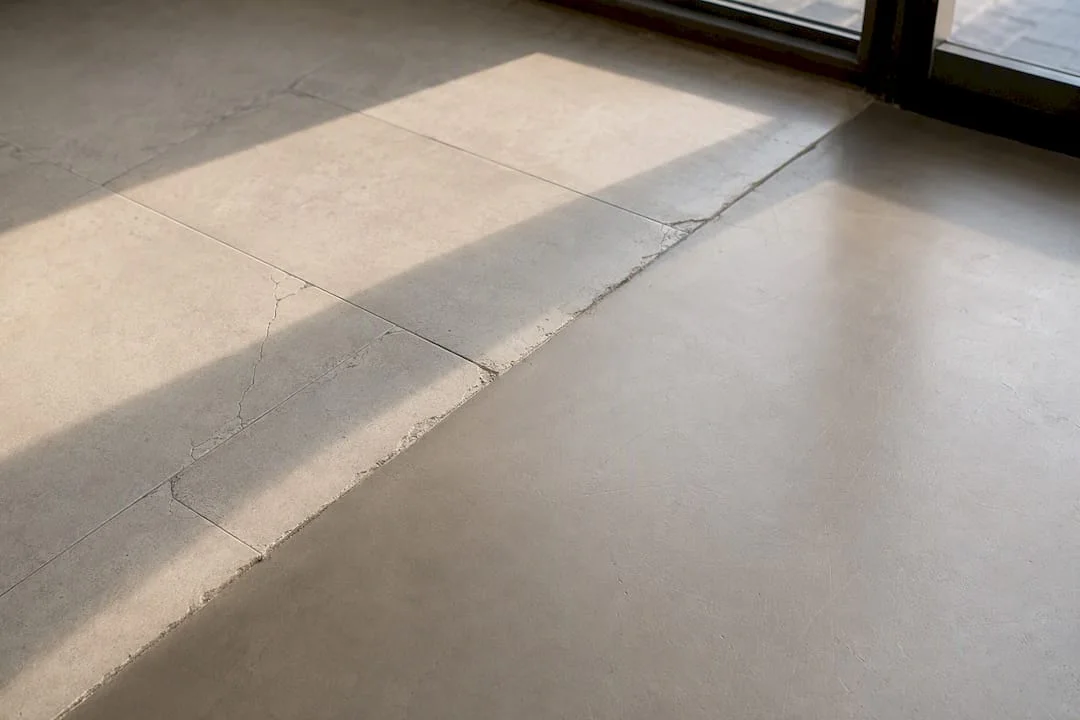
Reapplying the microcement sealing varnish is recommended periodically depending on the traffic intensity and exposure to moisture, in order to maintain the surface protection. The tile does not require re-sealing of the material itself, but grouting is reconditioned when visible cracks or discoloration occur, a documented step-by-step process in acomplete grout care guidee
INFORMATION: Avoid cleaning products with chlorine or strong acids on the microcement, even if the varnish seems intact, because they accelerate the degradation of the protective film. For fresh stains, a damp cloth with neutral detergent solves most situations without the risk of attacking the surface.
Can microcement be applied over existing tiles?
The short answer is yes, but not under any conditions. Application of microcement over tilesworks when the plates are well fixed, the surface is clean and smooth, and the bender uses adhesion primer and fiber mesh at the joints to prevent further cracks.
A few technical conditions decide if you can skip the demolition stage:
- Fixed and motionless sandstone— no tile should sound hollow when hammering.
- Clean, degreased and sanded surface— the preparation step that guarantees the adhesion of the microcement.
- Reinforcing mesh at joints— mandatory where the joints of the old tiles are deep or uneven.
- Complete removal— necessary if you find loose, cracked or with large differences in level tiles.
For underfloor heating, microcement is compatible, but it requires a gradual increase in temperature, in steps, to avoid cracking of the finish layer. Sandstone better tolerates sudden temperature variations, making it a less risky choice in heating systems with less precise adjustments.
Decision checklist: what to choose based on your project
The context of the project weighs more than pure aesthetic preference. Here is a quick selector for the most common situations:
- Small bathroom renovation, limited budget— microcement, if the support is in good condition; avoid demolition and shorten the work.
- Open-plan kitchen with heavy daily traffic— rectified porcelain sandstone, for strength and local replaceability.
- Mixed traffic entrance area (outside/inside)— non-slip tiles, safer from moisture and repeated impact.
- New construction, economy oriented budget— standard tiles, often cheaper on materials in the absence of demolition costs.
How we decide at SelfDesign between microcement and sandstone
In our projects, the choice starts from three simple checks: the actual state of the mat, the schedule of space use and the available budget for finishes. A microcement applied without a prior technical inspection of the support risks cracks in the first year, no matter how good the material is.
That's why we insist on an authorized application team and a technical assessment before any firm recommendation. We don't recommend microcement “because it's fashionable” and we don't recommend tiles just because it's the safe option. We recommend what resists the way the space will actually be used, not the way it looks beautiful in the photo.
Toni
How SelfDesign helps you choose the right finish
Choosing between microcement and sandstone is easier to take with a technical evaluation of the support than with a list of theoretical arguments, no matter how complete. SelfDezign offers exactly this step: we check the condition of the existing floor, recommend the material according to the function of the space, coordinate the application teams and supervise the quality of the execution from the primer to the final finish.
The service addresses both residential projects and commercial or HoReCa spaces where a wrong finishing decision costs much more than a consultancy paid on time. If you want to see what this process looks like on real projects, check outour examples of interior project goalsand schedule an assessment discussion before signing with an applicator.