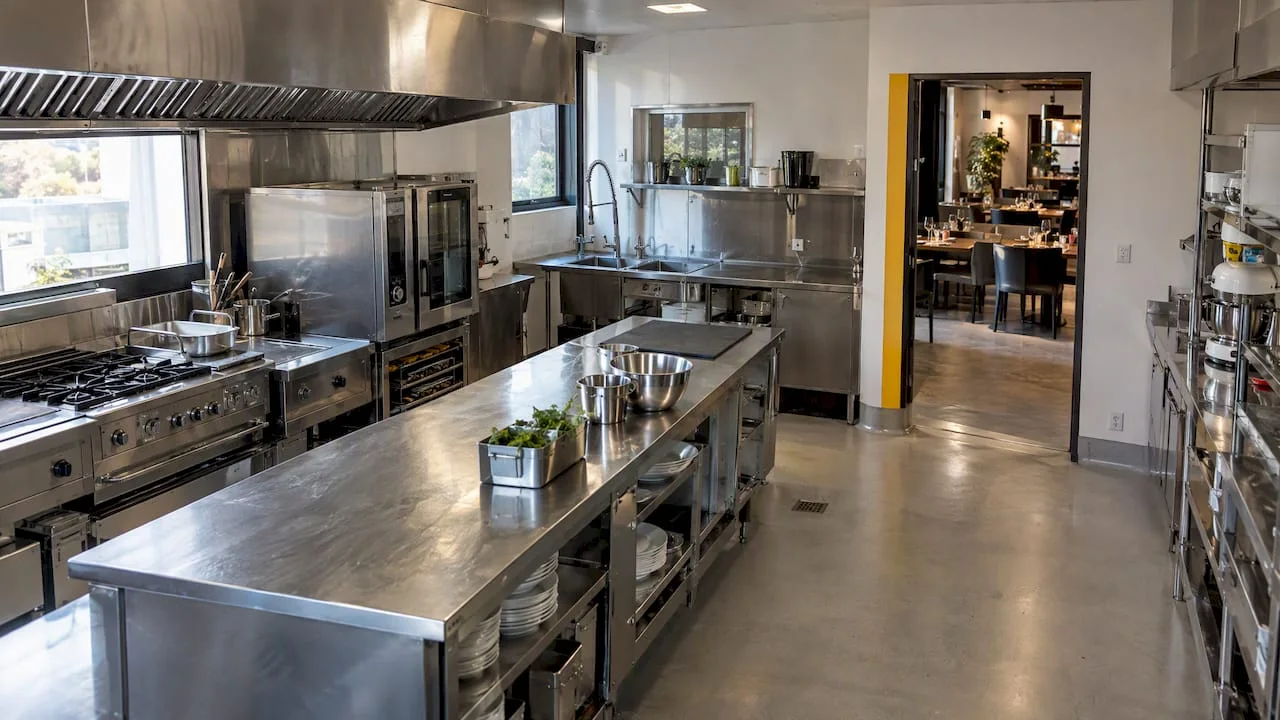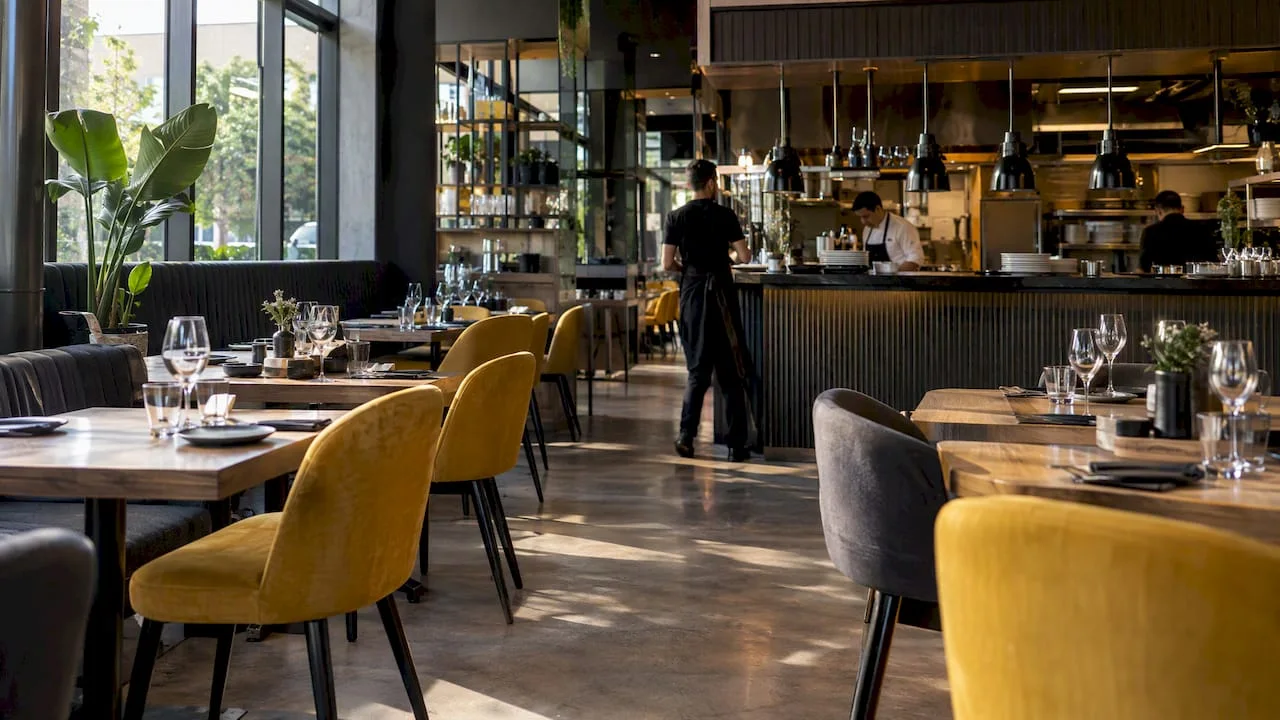
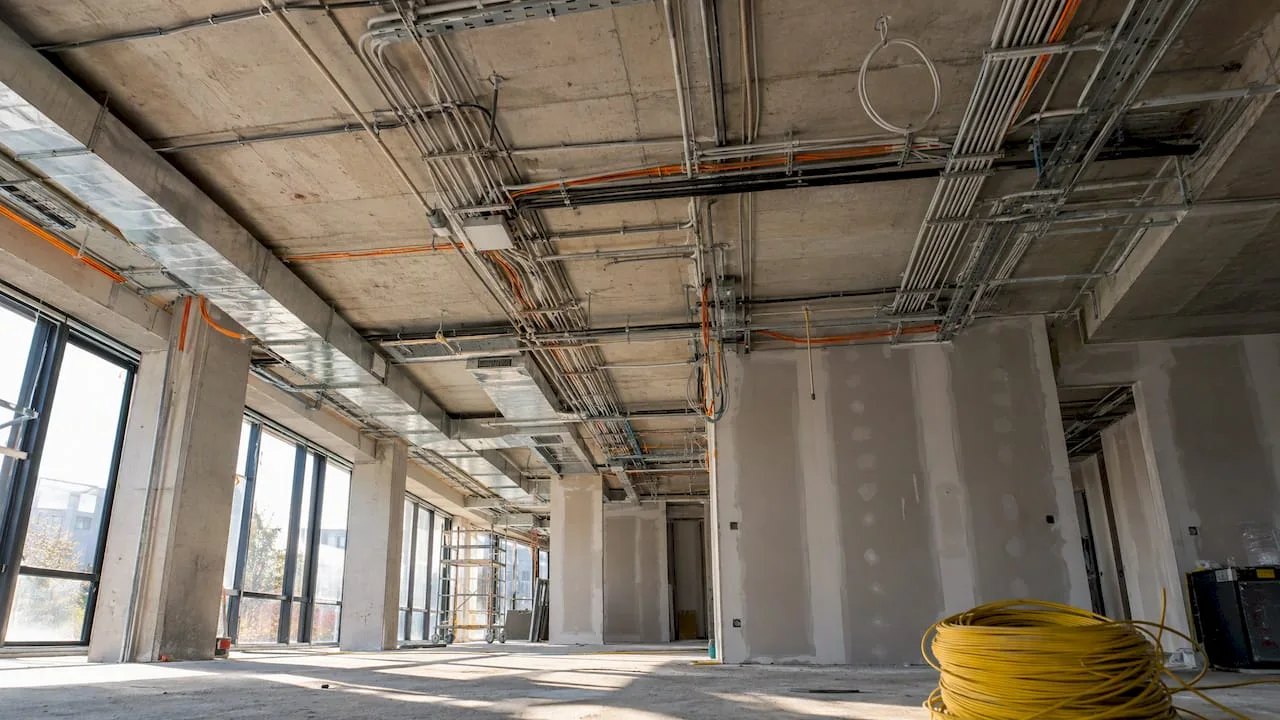
A restaurant electrical plan starts from how the venue works: what you cook, with which equipment, how many seats you have, how people move around and what atmosphere you want in the dining room. Only after that come the distribution board, the circuits and the sockets. Anyone who reverses this order ends up with sockets where they are not needed, an approved power too low for the kitchen, or ceilings opened up again after the hood has been installed. Below you will find what information to gather, how to estimate power, how to split circuits by zone, who to coordinate the plan with and what to check before you open.
SelfDezign
Coordinate the building services with the interior design
SelfDezign designs HoReCa interiors and coordinates implementation, taking into account the real context and objectives of the project.
In short
- The electrical plan derives from the concept and the menu. Without the final equipment list and the kitchen layout, any electrical diagram is a guess.
- Power is estimated from the nominal power of the equipment, then adjusted with a simultaneity coefficient. Installed power and actually demanded power are not the same thing.
- Large appliances get dedicated circuits, separate from lighting and general-purpose sockets, and refrigeration has its own circuits, protected against accidental tripping.
- The plan is coordinated with ventilation, fire safety and the interior design before execution, not during it.
- The design is signed by an ANRE-authorised designer, and at the end you need a complete handover file, not just an installation that "works".
Why the electrical plan starts from the menu, not from the distribution board
From an electrical point of view, a restaurant is a building with two personalities. The kitchen is a small industrial zone: ovens, hobs, dishwashers, cold rooms, hoods with powerful motors. The dining room is an experience space, where warm light, discreet sockets at the bar, lighting scenes for lunch and dinner, sound and screens all matter.
If you are an entrepreneur, think of the electrical plan as the nervous system of the venue: you do not see it, but every concept decision passes through it. A menu built around a wood-fired oven needs something different from one with an electric combi oven and induction hobs. A cocktail bar with ice machines and blenders has different needs from a cafe with one large espresso machine and a refrigerated display.
That is why, in HoReCa projects, the correct order looks like this:
- the concept and the menu;
- the kitchen and dining room layout, with the equipment chosen, not just "estimated";
- the electrical plan, coordinated with ventilation, sanitary facilities and fire safety;
- execution.
When step 2 is missing, the electrician works by guesswork, and guesswork is paid for twice: once at execution and again at rework.
What information to gather before design
In practice, the first step is a complete list of the equipment and its nominal power, on the basis of which the designer sizes the installation. A good list does not just say "oven, fridge, hob", but the model, the power, the supply voltage (single-phase or three-phase) and the exact position on the plan.
Before the first discussion with the electrical designer, prepare:
- Technical data sheets for the kitchen equipment: power, voltage, connection type (industrial socket or fixed connection), and where relevant the starting current for motors and compressors.
- Refrigeration equipment: cold rooms, refrigerated counters, display cases, chests, ice machines, including where the condensing units sit (inside, on the terrace, on the roof).
- Ventilation and air conditioning: hoods, supply and extract fans, indoor and outdoor air-conditioning units.
- Bar and service area: espresso machine, grinders, glass washers, display cases, POS terminals, receipt printers.
- Dining room: the light fittings chosen in the concept, lighting scenes, sound, screens, and possibly terrace heaters.
- Back office and utilities: router, surveillance cameras, alarm, boiler, and possibly a pump or booster station.
- Data about the premises: the existing approved power, whether the supply is single-phase or three-phase, the condition of the current distribution board and earthing, the clear height and the possible cable routes.
One observation from practice: the approved power of a rented space is often designed for its previous use, for example a shop or an office. Check it at the start, because any increase in power depends on the distribution operator and can take longer than the rest of the fit-out.
How to estimate the power you need
The estimate starts simply: you add up the nominal power of all the equipment, from ovens and hobs to fridges and dishwashers. The result is the installed power. However, not all equipment runs at full capacity at the same time, so the designer applies simultaneity coefficients and obtains the demanded power, the one that matters for sizing the connection and the main distribution board.
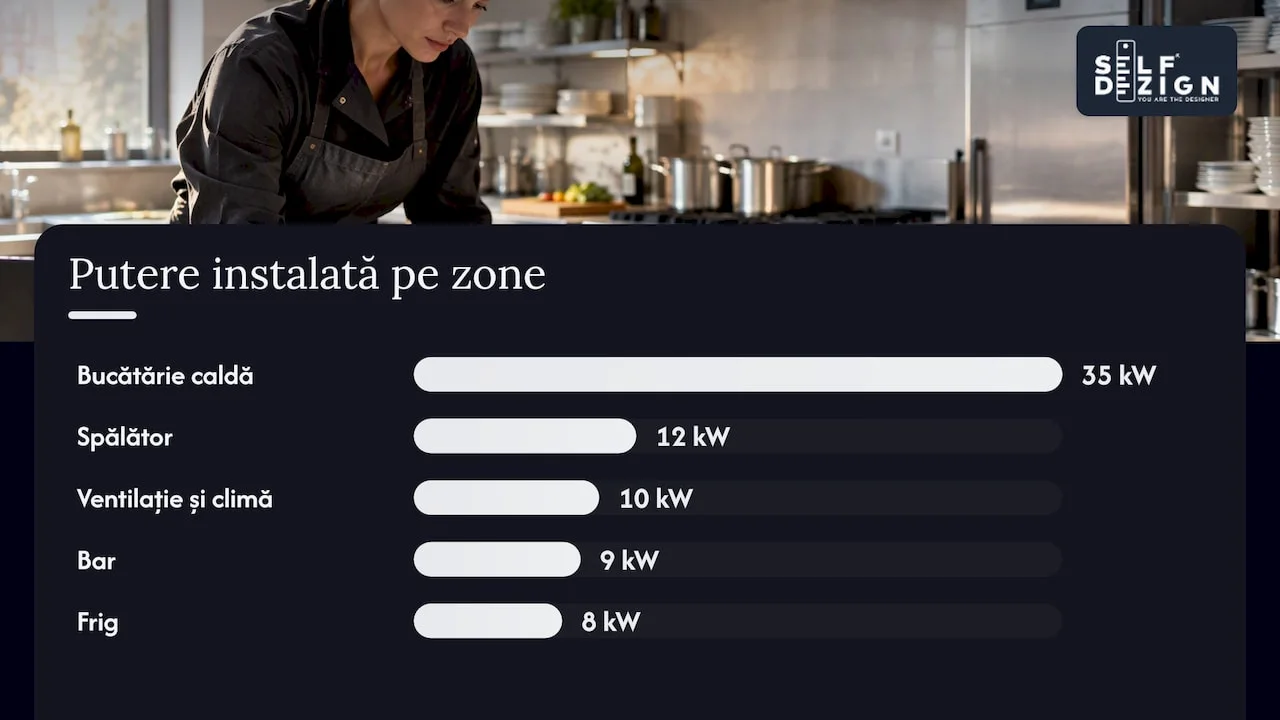
The difference between the two matters in both directions. An installation sized only on installed power may be oversized and expensive. One sized too optimistically trips the protections right at peak time, on a Friday evening, when all the hobs are on.
Here is an illustrative example, with hypothetical values, only to show the calculation logic:
|
Zone |
Equipment (example) |
Installed power (example) |
How it behaves in use |
|---|---|---|---|
|
Hot kitchen |
combi oven, induction hob, fryer |
35 kW |
almost all on at the same time at peak |
|
Refrigeration |
cold room, refrigerated counters, display cases |
8 kW |
continuous operation, compressor cycles |
|
Wash-up area |
dishwasher, boiler |
12 kW |
peaks after service |
|
Bar |
espresso machine, ice machine, glass washer |
9 kW |
constant use, peaks in the evening |
|
Dining room and terrace |
lighting, sound, screens |
4 kW |
all on at the same time, but low consumption |
|
Ventilation and air conditioning |
hood, fans, air conditioning |
10 kW |
in parallel with the hot kitchen |
In this example, the total installed power is 78 kW, but the demanded power will come out lower after the coefficients are applied. How much lower is for the designer to decide, based on the standards and on how your kitchen actually works. That is why it is worth describing what a real day looks like: at what time the ovens start, whether you prep in the morning and serve in the evening, whether the terrace only operates in summer.
How to organise circuits by zone
The basic rule: large appliances, such as ovens and hobs, are connected to dedicated circuits, separate from lighting and from small consumers, and the boards use RCD and overload protection. In practice, this translates into a split by functional zone:
|
Zone |
What to look for in the plan |
Common mistake |
|---|---|---|
|
The hot kitchen |
dedicated circuits per large appliance, industrial sockets or a fixed connection at the correct height, routes protected from heat and moisture |
sockets placed according to the old plan, not according to the real position of the equipment |
|
Refrigeration |
separate circuits for each important refrigeration unit, so that a trip in another zone does not stop the cooling |
fridges on the same circuit as general-purpose sockets |
|
The wash-up area |
protection suited to wet areas, sockets positioned away from splashing |
sockets in the splash zone of the pre-rinse spray |
|
The bar |
circuits for the espresso machine and the ice machine, worktop sockets for the POS and small equipment |
extension leads under the counter, added after opening |
|
The dining room |
lighting circuits by scene, discreet sockets for cleaning and events, supply for sound |
dining room lighting on a single circuit, with no zone control |
|
The terrace |
circuits and protections suited to outdoor use, supply for heaters and lighting |
improvised solutions, redone every season |
|
Back office |
supply for the network, surveillance, alarm, and possibly a backup source for the POS and the network |
the router in the same socket as the staff kettle |
For the boards, a common solution is a main board and secondary boards by zone, for example one for the kitchen and one for the dining room and bar. The advantage in operation is clear: when something trips, the staff know where to look, and an intervention in the kitchen does not turn off the dining room lights in the middle of service. Ask for every circuit to be labelled clearly, in terms the team understands, not just with codes.
Lighting: where the electrical plan meets atmosphere
In the dining room, the electrical plan is no longer just a technical matter. The position of the junction boxes, the number of circuits and the ability to adjust intensity decide whether the atmosphere in the concept actually becomes reality. A concept based on warm, low light above the tables needs supply points exactly above the tables, and therefore a final furniture plan before the routes.
We have gathered the technical details, from colour temperature to lighting levels by zone, in the guide on restaurant lighting. For the electrical plan, remember just one thing: lighting scenes are decided in the concept, and the circuits are drawn after them, not the other way round.
Coordination with ventilation, equipment and fire safety
Electrical design is not a list of consumers, but a coordination with the architecture, the structure and the other building services. A few meeting points where most conflicts appear:
- The hood and ventilation. Ventilation motors need supply and control, and the ductwork routes compete with the cable routes on the same ceiling. You can find how the extraction system is sized in our article on restaurant kitchen ventilation.
- The false ceiling. Lighting, sensors, speakers and ventilation grilles must fit together in a coherent ceiling plan. Otherwise, each trade makes room for itself.
- Fire safety. Detection, emergency lighting, any extinguishing systems in the hood area and the disconnection of certain consumers on alarm are integrated from the design stage. Establish from the design which safety equipment is part of the electrical plan.
- The interior fit-out and furniture. Bar, banquettes, shelves, decorative panels: each can cover a socket or a junction box if the plans are not overlaid.
On the legal side, the Code for Territorial Planning, Urbanism and Construction (Law No. 169/2026) requires a construction to meet, throughout its life cycle, fundamental requirements, including fire safety and safety and accessibility in use. In addition, depending on how the construction or the fit-out is classified in the categories set by government decision, a fire safety authorisation may be required. Whether or not your restaurant falls into these categories, check with the designer and with the ISU (fire inspectorate) in your county before starting work, because the answer changes the documentation required.
Stages, specialists and documents
An electrical plan for a restaurant usually goes through the following steps:
- The brief and the input data. The equipment list, the layout, the lighting concept, the existing approved power.
- Design. An ANRE-authorised electrical designer, with the type and grade of authorisation suited to the works, prepares the documentation: usually a technical memorandum, a calculation summary, floor plans and the board diagrams.
- Design verification. When the works require it, the design is checked by an attested design verifier for electrical installations.
- Approvals and, where applicable, the building permit. It depends on the scale of the works and on the changes made to the building; any increase in power from the distribution operator also falls here.
- Execution. An ANRE-authorised electrician for execution carries out the installation according to the design, and any change on site is discussed with the designer, not settled on the spot.
- Acceptance and commissioning. The measurements, the final documents and the handover of the installation to you.
We explained how much the technical design part costs within the overall fit-out in the article on the cost of a technical interior design project. And if you work with a design studio, it is worth setting out in the interior design contract who coordinates the building services designers and who is responsible for the overlay of the plans.
Acceptance before opening
An installation that works is not the same as an installation that has been accepted. Before opening, ask the electrician and the designer for a complete file. It usually includes:
- the measurement reports for earthing, insulation resistance and the operation of the RCD protections;
- the "as built" plans, that is, the plans updated with what was actually executed, not just with what was designed;
- the single-line diagrams of the boards, with the circuits labelled identically to those on site;
- the equipment documents: certificates, declarations of conformity, operating instructions;
- the documents required by the distribution operator for energising, where the connection or the power has been modified.
The exact list depends on the works, on the distribution operator in your area and on any fire safety authorisation, so agree it with the designer as early as the design phase. After opening, the installation goes into operation, and the periodic inspection of the boards, the measurements and the equipment becomes part of managing the premises. Keep a record of inspection deadlines and documents, so that you have them to hand during an inspection.
The mistakes that cost the most
- The electrical plan made before the equipment is chosen. The result: sockets moved, cables extended, the board redone.
- Approved power checked too late. The opening is postponed because the connection does not cover the kitchen.
- Refrigeration treated as an ordinary consumer. A single trip overnight can mean lost stock.
- Dining room lighting on too few circuits. The evening atmosphere becomes impossible without zone control.
- No spare capacity. A restaurant changes its menu and equipment; a board without spare ways and spare power makes any change expensive. If you are already thinking about a refurbishment, also see when it is worth renovating your restaurant.
The SelfDezign perspective
In the HoReCa projects we coordinate, the electrical plan is one of the few decisions that can no longer be corrected elegantly after opening. A wall can be repainted, a lamp can be changed, but a cable route buried in the screed stays there. That is why we do not treat the building services as a separate stage that comes "after design".
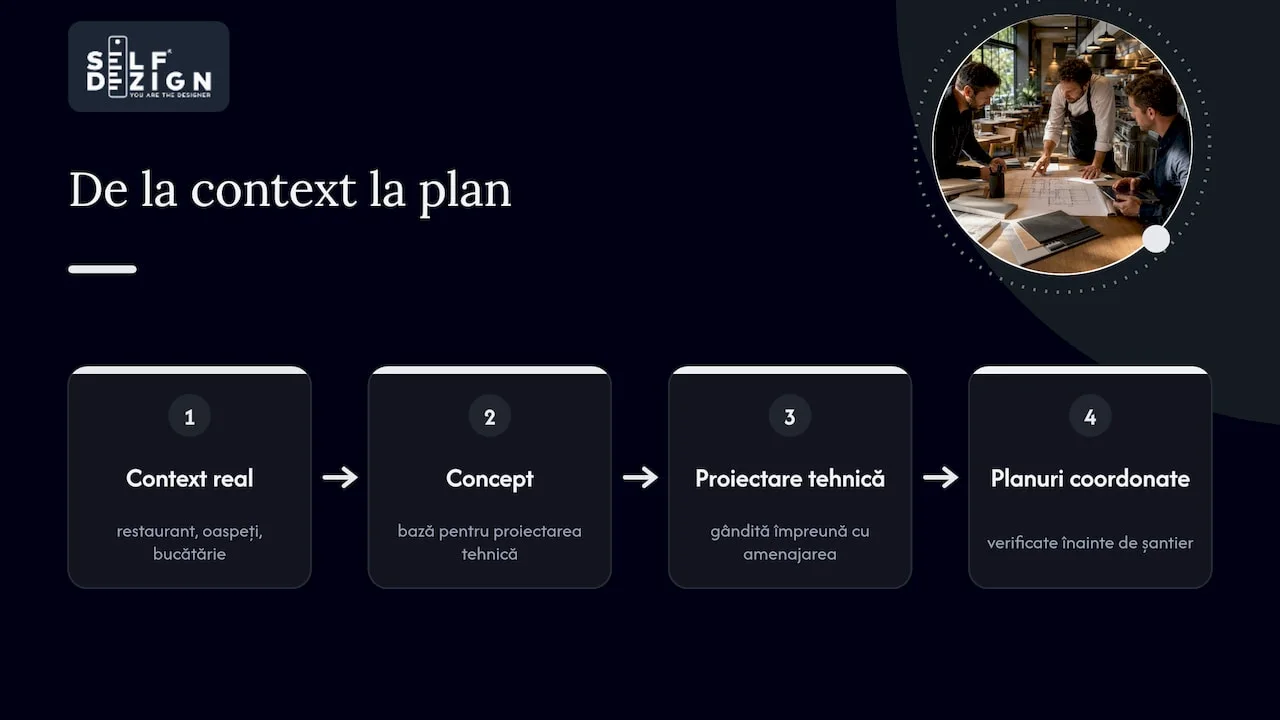
We start from the real context: what kind of restaurant it is, who the guests are, how the kitchen works, what experience the dining room has to support. The concept comes out of these answers, and the concept becomes the basis for the technical design. When lighting, furniture, equipment and services are thought through together, the space has functional coherence: the staff do not run into wrongly placed sockets, and the guests see exactly the atmosphere you imagined.
The most useful advice we give our clients is simple: do not start on site until you have the overlaid plans on the table, that is, interior design, electrical, ventilation and fire safety, checked together. A few extra days at the office save weeks on site.
— Toni
If you are preparing a new restaurant or a refurbishment, our team of HoReCa interior design takes care of the concept, the technical design and the coordination of execution, so that the electrical plan starts from the function. For a first clarification, you can begin with a consultation with written conclusions, at 500 lei for a 2-hour session, and if you are in the diaspora and preparing a project in Romania, SelfDezign Remote offers remote HoReCa consultation, from 450 € per session.